As Halloween approaches, many of us start thinking about our beloved jack-o-lanterns. But this year, let’s add a new twist to the classic design: cat faces on pumpkins! Not only do they bring a playful touch to your porch or doorway, but carving a feline face into a pumpkin can also be a fun and creative way to express yourself. Whether you’re a seasoned carver or just starting out, designing and transferring a cat face onto a pumpkin can seem intimidating. But don’t worry – with the right tips and techniques, you’ll be well on your way to creating a unique and eye-catching jack-o-lantern that will bring joy to trick-or-treaters (and Instagram followers!) this Halloween season.
History of Jack-o’-Lanterns and Feline Faces
Let’s dive into the fascinating history behind these adorable cat faces carved onto pumpkins, a tradition that combines ancient rituals with modern-day whimsy. From its Celtic roots to contemporary designs, we’ll explore it all here.
Ancient Origins of Pumpkin Carving
The tradition of carving pumpkins is rooted in ancient Ireland, where people would hollow out turnips and carve scary faces into them to ward off spirits. This practice was known as “souling,” where carved vegetables were believed to have the power to keep evil spirits at bay. The Irish would place these carved turnips near their homes and windows, filling them with candles or embers to create a spooky glow.
As time passed, European settlers brought this tradition to North America, but they found that pumpkins were a more abundant and easier-to-carve alternative than turnips. The term “jack-o’-lantern” originated from the Irish legend of Stingy Jack, who was said to have tricked the devil into making him an eternal lantern out of a hollowed-out turnip.
The art of pumpkin carving has since evolved, but its roots in ancient Ireland remain strong. Today, you can find intricately carved pumpkins at Halloween gatherings and festivals all over the world. When it comes to creating your own spooky masterpiece, remember that practice makes perfect – so don’t be discouraged if your first attempts don’t turn out as expected!
How Feline Faces Became a Staple of Halloween Decorations
Feline faces have been a staple of Halloween decorations for decades, and their popularity can be attributed to their association with good luck and fertility in many cultures. In ancient Egypt, cats were revered as sacred animals, often depicted in art and literature as symbols of rebirth and regeneration. Similarly, in Celtic mythology, the cat was associated with the goddess Brigid, who embodied fertility, prosperity, and protection.
These cultural connotations have carried over into modern times, making feline faces a natural choice for Halloween decorations. The idea of carving cat faces into pumpkins may seem innocuous, but it taps into our collective unconscious, evoking feelings of warmth, comfort, and nostalgia. To incorporate this design into your own pumpkin carvings, start by choosing a simple yet expressive face pattern – you can find plenty of examples online or create your own using stencils.
When carving the cat’s features, remember to emphasize its whiskers, nose, and mouth, which are key to capturing its adorable personality. Don’t be afraid to add some creative flair with raised eyebrows or a playful tongue. With a little practice and patience, you’ll have a delightful feline face staring back at you from your porch or windowsill – sure to bring good luck and joy to all who see it!
The Evolution of Pumpkin Carving Designs Over Time
As you carve out the perfect cat face on your pumpkin, have you ever wondered how this tradition of pumpkin carving has evolved over time? From simple, spooky faces to intricate designs featuring beloved animals like cats, the art of pumpkin carving has undergone a significant transformation. In the early days of jack-o’-lanterns, pumpkins were carved with basic shapes and frightening features to ward off spirits during Halloween.
However, as the tradition gained popularity, people began experimenting with more complex designs. By the mid-20th century, pumpkin carving had become an art form in itself, with intricate patterns, elaborate scenes, and even portraits emerging. Today, we see a vast array of designs, from cartoon characters to realistic animal faces – including our beloved feline friends.
With the help of technology and innovative tools, modern pumpkin carvers can achieve incredible levels of detail and precision. Whether you’re a seasoned pro or a beginner, there are countless tutorials, patterns, and stencils available online to inspire your creativity. So why not try your hand at carving a majestic cat face on your pumpkin this Halloween? With practice and patience, you’ll be creating stunning designs in no time!
Designing and Carving a Cat Face on a Pumpkin
Let’s dive into the fun part: designing and carving your very own cat face onto a pumpkin! You’ll learn how to create adorable whiskers, eyes, and more.
Tips for Choosing the Right Pumpkin for Your Design
When selecting the perfect pumpkin for carving a cat face design, there are several factors to consider. First and foremost, choose a pumpkin that’s suitable for its size and shape. A medium-sized pumpkin with a slightly flattened bottom is ideal, as it will provide enough surface area for intricate designs while still being manageable to carve.
In terms of texture, look for pumpkins with smooth skin, free from any soft or mushy spots. These will be easier to carve and less prone to cracking. Avoid pumpkins with thick, hard skin, as they can be challenging to cut through.
Some popular varieties for pumpkin carving include Jack Be Little, Sugar Pie, and Baby Boo. These smaller pumpkins are perfect for cat face designs, and their compact size makes them ideal for tabletop or mantel displays. When in doubt, opt for a pumpkin with a slightly more rounded shape, as this will provide more opportunities for creative expression in your design.
Techniques for Transferring a Cat Face Design onto Your Pumpkin
When it comes to transferring a cat face design onto your pumpkin, you have two main options: using stencils or going freehand. Let’s break down each method and provide step-by-step instructions on how to achieve a crisp, clean design.
Using Stencils:
To start, choose a stencil that features a simple or intricate cat face design, depending on your skill level and desired outcome. Place the stencil onto the pumpkin, ensuring it is centered and evenly spaced. Use a ballpoint pen or marker to lightly draw along the edges of the stencil, creating a guideline for your carving path.
Next, carefully carve out the design using a serrated knife or linoleum cutter. Make sure to follow the lines you drew, taking care not to deviate from the original design. If needed, use a small scraper tool to remove excess pumpkin pulp and refine the edges of your cat face.
Going Freehand:
For a more challenging but rewarding approach, try freehanding your cat face design directly onto the pumpkin using a marker or fine-tip pen. Start by lightly sketching out a rough outline of the feline features, paying attention to proportions and spacing.
As you become more confident in your drawing abilities, gradually add details such as whiskers, nose, and eyes. Remember to work slowly and deliberately, taking care not to press too hard on the pumpkin’s surface, which can cause it to break or become uneven.
Advanced Carving Tips for Creating a Realistic Feline Face
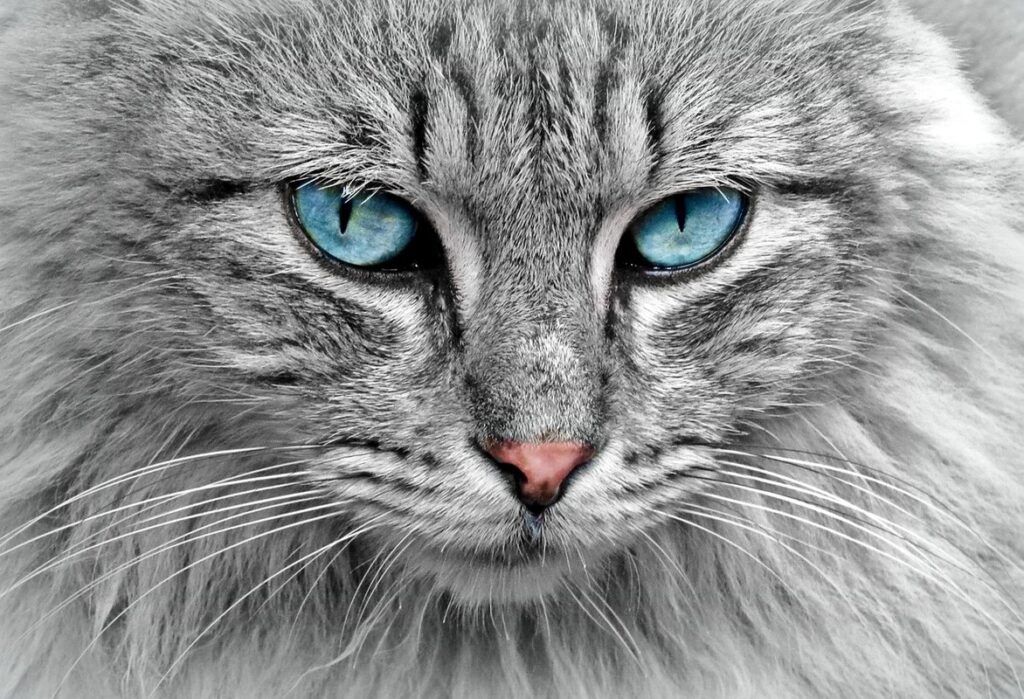
To create a realistic feline face on your pumpkin, you’ll want to focus on capturing the cat’s unique features. Start by paying attention to the shape and proportions of the face. A cat’s head is typically proportioned as follows: the distance from the tip of the nose to the back of the head is about 2/3 of the total height.
When carving the whiskers, use a V-shaped tool or a sharp knife to create delicate, curved lines that mimic the natural shape of a cat’s whiskers. To achieve a more realistic look, make sure the whiskers are thicker at the base and taper off towards the tip.
For the eyes, aim for a slightly rounded shape with a narrow, pointed tip. Use a small tool or a toothpick to create the pupil, which should be about 1/4 of the way into the iris. Finally, add some subtle details like nose ridges and mouth curves using a fine-tipped tool or a toothpick. Practice makes perfect, so don’t be discouraged if your first attempts don’t turn out exactly as you hoped!
Common Challenges When Carving a Cat Face and How to Overcome Them
Carving a cat face on your pumpkin can be intimidating, especially when faced with common mistakes that can ruin your design. We’ll walk you through the most frequent challenges and share expert tips to overcome them.
Troubleshooting Common Issues with Your Pumpkin Carving
When carving a cat face on your pumpkin, it’s not uncommon to encounter some challenges. One common issue is making uneven cuts, which can distort the design and make your cat face look more like a mangled mess than a beautiful masterpiece. To avoid this, try using a stencil or pattern guide to help you cut out the features of the cat’s face. This will ensure that your lines are straight and even.
Another issue that can arise is distortion due to uneven pumpkin surface or carving technique. To prevent this, make sure to carve on a stable surface and use a sharp knife to avoid applying too much pressure, which can cause the pumpkin to break apart. You can also try using a smaller pumpkins with a more symmetrical shape to make your cat face design look more balanced.
If you notice that your cat face is looking distorted or uneven, don’t be afraid to start over from scratch. Remember, practice makes perfect, and it’s better to take your time and do it right than to rush through the process and end up with a disappointing result.
How to Achieve a Smooth, Even Finish on Your Carved Pumpkin
Achieving a smooth, even finish on your carved pumpkin is crucial to bring out the details and design of your cat face. To start, make sure you’ve carefully planned and drawn your design onto the pumpkin before carving it. This will ensure that the lines are clean and precise.
When you’re done carving, use a sanding block or a fine-grit sandpaper to smooth out any rough edges or bumps in the design. Focus on the areas where the cat’s eyes, nose, and mouth are, as these tend to be the most delicate features. Start with coarse grit (about 120) and work your way up to finer grit (220-240) for a silky finish.
Once you’ve sanded the entire surface, it’s time to seal the design. Apply a clear coat of varnish or acrylic spray to protect the pumpkin from moisture and fading. This will also help bring out the details of the cat face, making it look more vibrant and lifelike.
Displaying and Preserving Your Cat Face Pumpkin
Now that you’ve carved your adorable cat face into a pumpkin, let’s talk about how to display it proudly without it getting soggy and what methods are best for preserving its cuteness.
Creative Ways to Display Your Jack-o’-Lantern
When it comes to showcasing your cat face pumpkin, you’ll want to think outside the box (or porch) to create a unique and inviting display. One way to do this is by experimenting with different lighting options. String lights or fairy lights wrapped around the pumpkin can add a warm and cozy ambiance, while LED candles or lanterns can provide a soft, eerie glow. You could also try placing a small tea light inside the pumpkin for a warm, golden light from within.
Consider placement to maximize visual impact. Why not place your cat face pumpkin on a step or ledge, where it can be viewed from multiple angles? Or, if you have a spacious porch or patio, create a focal point by grouping several pumpkins together in a decorative arrangement. Don’t forget to add some greenery, like fall-colored leaves or branches, to complement the design and tie in with the autumnal theme. By thinking creatively about lighting and placement, you can turn your cat face pumpkin into the star of your outdoor decor.
Tips for Extending the Life of Your Carved Pumpkin
Now that you’ve carved and displayed your stunning cat face pumpkin, it’s time to make it last as long as possible. A well-preserved pumpkin can be a beautiful centerpiece for your home for weeks to come. To extend the life of your carved pumpkin, try using a sealant like petroleum jelly or cooking spray. Apply a thin layer to the cut surfaces and let it dry completely before displaying.
You can also use a commercial pumpkin preservative, which is available at most craft stores. Follow the instructions on the label for application and drying times. Some people swear by using beeswax or wax-based products to seal in moisture and prevent mold from forming. Just be sure to follow the manufacturer’s instructions and apply a thin layer only.
To keep your pumpkin fresh-looking, make sure it’s not exposed to direct sunlight, heat sources, or drafts. A cool, dry place is ideal for displaying your carved masterpiece. By taking these simple steps, you can enjoy your beautiful cat face pumpkin for longer and add a festive touch to your home decor. With a little care, your carved pumpkin will remain looking its best for weeks!
Conclusion: The Joy of Creating a Cat Face Pumpkin
Now that you’ve carved your very own cat face pumpkin, let’s reflect on the joy and satisfaction of bringing this fun project to life. We’re about to wrap up our journey together!
Why Carving a Cat Face on a Pumpkin is a Fun and Rewarding Activity
Carving a cat face on a pumpkin is more than just a seasonal activity – it’s an experience that can bring joy to people of all ages. Whether you’re a seasoned DIY enthusiast or a parent looking for a fun project with the kids, creating a feline-inspired masterpiece on a pumpkin can be a truly rewarding experience.
One reason why carving a cat face on a pumpkin is so enjoyable is because it allows us to tap into our creativity and imagination. By choosing from various designs and patterns online or drawing inspiration from real-life cats, we can let our creative juices flow and bring a unique vision to life. This freedom of expression makes the activity not only fun but also therapeutic.
Carving a cat face on a pumpkin is also an excellent way to spend quality time with family and friends. Whether it’s a group project or a solo effort, working on a pumpkin can be a great bonding experience that creates lasting memories. Imagine the excitement of sharing your finished design with others and hearing their oohs and aahs as they admire your handiwork.
Additionally, carving a cat face on a pumpkin is an activity that requires patience, attention to detail, and problem-solving skills – all valuable qualities that can benefit people of all ages. By taking the time to carefully plan and execute our design, we not only develop these skills but also cultivate a sense of pride and accomplishment in what we’ve created.
So why not give it a try? Grab a pumpkin, gather your tools, and let your creativity shine!
Frequently Asked Questions
How can I ensure my cat face pumpkin lasts throughout the Halloween season?
Make sure to choose a high-quality pumpkin with a hard, smooth rind that will resist moisture and decay. You should also apply a coat of petroleum jelly or cooking spray to protect your design from fading and moisture damage.
Can I use a stencil or pattern for my feline face design, or do I have to freehand it?
Yes, you can definitely use a stencil or pattern for more intricate designs. This is especially helpful if you’re new to pumpkin carving or want to achieve a specific look. You can find cat face stencils online or create your own using paper or cardstock.
What are some common mistakes to avoid when transferring my design onto the pumpkin?
Common mistakes include not aligning the design correctly, applying too much pressure, and not adjusting for uneven surfaces. To avoid these issues, use a laser level or ruler to ensure accurate alignment, apply gentle pressure, and test your design on paper before carving.
How can I make my cat face more realistic with advanced techniques?
To add depth and dimension to your feline face, try layering cut-out designs or using different textures for shading. You can also experiment with various tools like linoleum cutters or engraving tools for more intricate details.
What’s the best way to display and preserve my carved cat face pumpkin after it’s finished?
To extend its lifespan, place your pumpkin in a cool, dry area away from direct sunlight. Consider using a waterproof coating or spray to protect against moisture damage. If you plan on displaying it outdoors, use LED candles instead of real ones to prevent heat buildup.