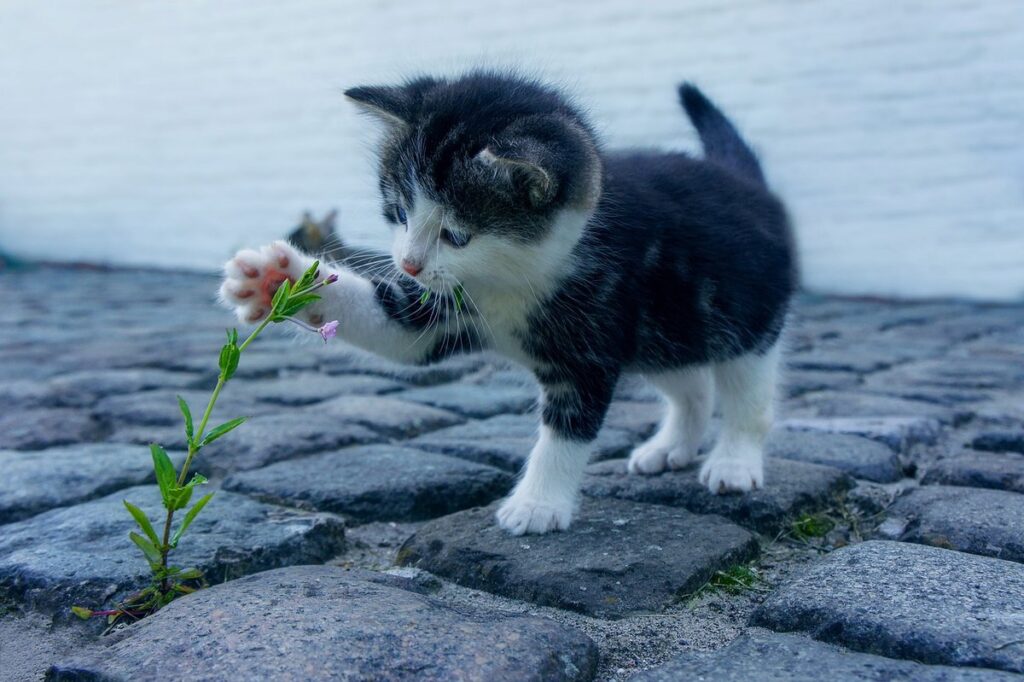
Trimming your cat’s claws can be a daunting task, but it’s an essential part of their overall health and wellbeing. Overgrown claws can cause discomfort, pain, and even lead to injuries if they get stuck in carpets or furniture. As a responsible cat owner, you want to learn how to trim your cat’s claws safely and effectively at home.
In this article, we’ll guide you through the process, from identifying signs of overgrown claws to preparing for trimming and avoiding common challenges like aggression and nail breakage. You’ll discover how to choose the right tools, trim properly, and care for your cat’s paws afterwards. Whether you’re a seasoned feline parent or just starting out, we’ll show you that trimming your cat’s claws is easier than you think.
Understanding Why Trimming is Necessary
Let’s get started on understanding why trimming your cat’s claws is essential for both their health and happiness. It’s crucial to grasp the reasons behind claw maintenance before moving forward with the trimming process.
Identifying Signs of Overgrown Claws
As a cat owner, it’s essential to recognize the signs that indicate your feline friend’s claws need trimming. Regular claw maintenance is crucial to prevent damage to your home and your cat’s overall well-being.
One of the most obvious signs is clicking or clacking sounds when your cat walks on hard surfaces like hardwood floors or tile. This is often a result of long, curved claws that are digging into the floor with each step. If you notice this sound, it’s time to trim those nails!
Visible damage to furniture and carpets is another telltale sign that your cat’s claws need attention. Cats naturally use their claws to scratch and mark their territory, but if left untrimmed, they can cause significant damage to your belongings.
Pay close attention to the condition of your home, especially areas where your cat spends most of its time. Keep an eye out for scratched surfaces, torn carpet fibers, or damaged chair legs. If you notice any of these signs, it’s likely that your cat’s claws need trimming to prevent further damage and ensure a harmonious coexistence with your feline friend.
Recognizing Claw Growth Patterns
When it comes to recognizing claw growth patterns, it’s essential to remember that every cat is different. Breeds like Maine Coons and British Shorthairs tend to have larger, more robust claws due to their genetic makeup, while smaller breeds like Singapura and Devon Rex have thinner, more delicate nails. Individual cats within the same breed can also exhibit unique characteristics.
For instance, some cats may grow their claws faster than others, requiring more frequent trimming sessions. Others might experience slower growth rates, allowing for longer intervals between trims. Understanding these variations is crucial to developing a personalized claw-trimming routine for your feline friend.
Factors like age, lifestyle, and health can also impact claw growth patterns. Senior cats may have slower-growing nails due to decreased nail production, while indoor cats tend to grow their claws faster than outdoor cats due to reduced wear and tear. By paying attention to these factors and observing your cat’s individual characteristics, you’ll be better equipped to recognize their unique claw growth pattern and adjust your trimming schedule accordingly.
Preparing Your Cat for Trimming
Before you begin trimming, it’s essential to prepare your cat both physically and mentally. This means making sure they’re comfortable and secure in their surroundings.
Acclimating Your Cat to the Nail Trimmer
When introducing your cat to the nail trimmer, it’s essential to go at their pace and make the experience as stress-free as possible. Start by simply showing them the tool while offering treats or toys to associate it with positive outcomes. This can be a daunting task for both you and your cat, but gradual exposure is key.
You can also try placing the nail trimmer near their favorite resting spot or feeding area so they become accustomed to its presence without feeling threatened. As they grow more comfortable, you can progress to gently touching the trimmer to their paw while providing rewards for calm behavior. Be cautious not to touch the actual cutting surface, as this may cause them to associate it with pain.
The goal is to create a relaxed atmosphere where your cat feels secure and trusting of the nail trimmer. This patience will pay off in the long run when you need to actually trim their nails. Remember, the more familiar they become with the tool, the less anxious and aggressive they’ll be during trimming sessions.
Choosing the Right Tools and Location
When it comes to trimming your cat’s claws, having the right tools and location can make all the difference. Let’s start with choosing a suitable nail clipper or grinder.
There are several types of nail clippers available, including scissor-style, guillotine-style, and nail trimmers specifically designed for cats. When selecting a clipper, consider your cat’s individual needs and preferences. For example, if your cat has thick or black nails, you may prefer a clipper with a guard to prevent accidental cutting.
It’s also essential to choose a grinder that suits your comfort level and skill level. Some grinders come with interchangeable sanding bands, allowing for more control over the trimming process. Others have built-in safety features, such as LED lights or ergonomic handles.
When it comes to selecting a location for trimming sessions, opt for a quiet, comfortable spot where your cat feels relaxed. This could be in a designated grooming area or even on your lap. Make sure to trim in a well-lit area, and consider having a pheromone spray or diffuser nearby to help calm your cat.
Consider investing in a nail trimming mat or pad that provides support and stability for your cat’s paws. This can be especially helpful if you’re new to trimming or have a nervous cat. By selecting the right tools and location, you’ll be well on your way to making claw trimming a stress-free experience for both you and your feline friend.
Trimming Techniques and Safety Precautions
When trimming your cat’s claws, safety should always be top of mind. This next part covers essential techniques to prevent accidents and get the job done safely.
Basic Nail Trimming Technique
When it comes to trimming your cat’s claws, proper positioning and handling are crucial for a safe and successful experience. Start by gently supporting your cat’s body, making sure they feel secure and comfortable. Hold them firmly but not too tightly, with one hand under their chest and the other supporting their hindquarters.
Next, carefully position your cat so that you can access all four paws easily. You may need to move their front legs forward or backward slightly to get a clear view of each claw. Now, take hold of the paw in your non-dominant hand, making sure to support the joints and not just the toes.
Look for the quick, which is the pinkish-colored part at the base of the nail. This is the most sensitive area, so be careful not to cut it when trimming. Start by carefully cutting the tip of each claw, taking small amounts off at a time until you reach the desired length.
Remember to move slowly and calmly, as your cat may feel anxious or stressed if they sense any sudden movements. Keep in mind that some cats may require regular trimming, while others may only need it occasionally.
Handling Different Claw Types
Trimming different claw types can be a challenge, but with the right approach, you’ll become more confident and skilled. Let’s start with curved claws – these are typically found on cats that spend most of their time indoors or have shorter nails due to regular trimming. When dealing with curved claws, use a gentle touch and work carefully around the curve. To avoid cutting too much nail, it’s best to focus on just the tip.
Straight claws are usually found on outdoor or active cats. They tend to grow more slowly than curved claws, but require extra care when trimming due to their straight edge. Use a nail clipper with a curved blade and trim only what’s visible beyond the quick – a pinkish-colored vein that indicates the sensitive part of the nail.
If your cat has very long nails, consider using a nail file or Dremel tool for the initial trimming process. This will help prevent breaking or cracking the nail, which can be painful for your cat. For particularly long or thick claws, take regular breaks to avoid fatigue and ensure accuracy.
Common Challenges and Solutions
We know trimming your cat’s claws can be tricky, so let’s tackle some common obstacles you might face and explore practical solutions to make the process smoother.
Dealing with Aggressive Behavior
When dealing with a cat that shows aggression during trimming sessions, it’s essential to prioritize their safety and well-being. One effective approach is to use pheromone sprays, which can help calm the cat and reduce stress levels. Products like Feliway mimic natural feline pheromones, promoting relaxation and reducing anxiety.
Gradual desensitization techniques are another valuable tool in managing aggressive behavior. This involves introducing the trimming process gradually, starting with small steps such as simply showing the cat the nail clippers or touching their paws lightly with a clipper-free hand. Reward your cat with treats and praise for remaining calm during these initial stages.
It’s also crucial to identify triggers for aggression and address them accordingly. For instance, some cats may become more aggressive when their nails are longer or when they’re in a specific location. Be patient and flexible, and work closely with your veterinarian or a professional groomer to develop a tailored approach that suits your cat’s unique needs and personality.
Managing Nail Breakage or Splitting
Managing nail breakage or splitting is a common issue many cat owners face when trimming their cat’s claws. If you’re experiencing this problem, don’t worry – it’s not uncommon and can be addressed with the right strategies.
Firstly, temporary protection measures can help prevent further damage to your cat’s nails. Apply a clear nail polish specifically designed for cats to their nails after trimming. This provides an instant barrier against moisture and helps seal any cracks or splits temporarily. You can also use a nail strengthener to fortify your cat’s nails.
For longer-term solutions, focus on improving the overall health of your cat’s nails. Ensure they’re getting enough vitamin E in their diet, as it’s essential for healthy nail growth. Consider providing a balanced and nutrient-rich food that supports your cat’s overall well-being. You can also try giving your cat omega-3 fatty acid supplements to boost their coat and nail health.
Regular grooming is key in preventing nail breakage or splitting. Inspect your cat’s nails regularly, and trim them as needed to maintain a healthy length. This will reduce the risk of overgrowth and subsequent cracking or breaking.
Additional Tips for Effective Trimming
When trimming your cat’s claws, there are a few extra details to consider that can make all the difference in ensuring a safe and successful experience. We’ll share our top tips to help you refine your technique.
Regular Trimming Schedule
Establishing a regular trimming routine is crucial to maintaining your cat’s claw health and preventing overgrowth. If you don’t trim your cat’s claws regularly, they can become painful for your cat, leading to irritability and behavioral issues. Moreover, untrimmed claws can cause damage to furniture, carpets, and even human skin.
To develop a regular trimming schedule, start by observing your cat’s natural claw growth pattern. Trim their nails every 4-6 weeks or as often as needed based on their individual growth rate. You can also trim them more frequently during periods of rapid growth, such as when they’re transitioning from kitten to adult.
Consider creating a calendar reminder to stay on track with trimming sessions. Make it a part of your regular grooming routine, so it becomes a habit for both you and your cat. Remember that over-trimming can be just as painful as under-trimming, so be sure to monitor your cat’s comfort level during each session. With consistency and patience, you’ll be able to maintain your cat’s claw health and prevent overgrowth with ease.
Combining Trimming with Grooming Sessions
When it comes to maintaining your cat’s overall well-being, incorporating nail trimming into their regular grooming schedule is an excellent idea. Not only does it promote healthy habits for your feline friend, but it also encourages bonding between you and your pet.
Think about it this way: if you’re already brushing or bathing your cat regularly, why not trim their nails at the same time? This allows you to develop a consistent routine that keeps your cat looking and feeling its best. Plus, regular grooming sessions provide an opportunity for social interaction, which is essential for building trust between you and your pet.
To make the most of this approach, try to trim your cat’s nails immediately after their bath or brushing session. This way, they’ll be relaxed and more receptive to the nail trimming process. Additionally, consider investing in a good quality nail clipper specifically designed for cats – these tools are usually safer and easier to use than traditional clippers. By combining trimming with grooming sessions, you can ensure your cat’s nails stay healthy and their overall well-being is prioritized.
Conclusion
Now that you’ve mastered trimming your cat’s claws, let’s wrap up with a quick recap of what to do if you encounter any difficulties along the way.
Recap of Key Takeaways
As you’ve completed reading our comprehensive guide on trimming your cat’s claws, let’s recap the essential points to ensure you’re well-equipped with the knowledge and skills necessary for safe and effective claw maintenance.
Firstly, it’s crucial to establish a regular claw-trimming routine to prevent overgrowth, which can lead to discomfort and health issues for your feline friend. Set aside some time each week to gently trim the curved part of their claws, being mindful not to cut the quick – the pinkish-colored part that contains nerves and blood vessels.
Next, it’s essential to understand the different types of cats and their specific claw needs. For example, long-haired breeds tend to require more frequent trimming due to their fur covering up the nails, while short-haired breeds can go longer between trims. Additionally, older cats or those with health issues may need more gentle and less frequent trimming.
Another critical point is choosing the right tools for the job. Opt for high-quality nail clippers specifically designed for cats, as these will make the process easier and safer for both you and your pet. We also emphasized the importance of getting your cat accustomed to having their paws handled through gradual exposure and positive reinforcement techniques.
Remember to stay calm and patient during trimming sessions, as sudden movements can cause stress and anxiety in your cat. With practice and consistency, you’ll become more confident and skilled at trimming your cat’s claws, helping them live a healthier and happier life. By following these key takeaways, you’ll be well on your way to becoming a pro at cat claw maintenance!
Frequently Asked Questions
What if my cat is extremely aggressive or resistant to trimming their claws?
Yes, this is a common challenge many cat owners face! To overcome aggression, it’s essential to introduce the nail trimmer gradually and make the experience as positive as possible. Reward your cat with treats and praise for tolerating the nail trimmer near them. You can also try trimming small areas at a time or seek professional help from a veterinarian or experienced groomer.
Can I trim my cat’s claws myself if they have extremely long or thick claws?
It’s generally recommended to consult a veterinarian or experienced groomer for cats with severely overgrown or thick claws. They will be able to provide personalized guidance and ensure your cat’s safety during the trimming process. However, if you do decide to trim them yourself, make sure to choose the right tools (such as a heavy-duty nail clipper) and follow proper safety precautions.
How often should I trim my cat’s claws after they’ve been trimmed initially?
Regular trimming is crucial for maintaining your cat’s claw health! Aim to trim your cat’s claws every 4-6 weeks, depending on their individual growth rate. You may need to adjust this schedule based on your cat’s lifestyle and environment – indoor cats tend to have slower-growing nails compared to outdoor or highly active felines.
What if I accidentally cut the quick while trimming my cat’s claws?
If you do accidentally cut the quick (the sensitive part of the nail), apply a small amount of styptic powder or pet nail clotting gel to the affected area immediately. This will help stop any bleeding and promote healing. Be sure to monitor your cat closely for signs of infection or pain, and adjust your trimming technique accordingly.
Can I trim my cat’s claws myself if they have black nails?
Trimming black nails can be more challenging due to their color and texture. While it may seem daunting at first, you can still learn how to trim them safely by using a good quality nail clipper with a black nail guard or a Dremel nail grinder. It’s also essential to work slowly and carefully around the quick, taking breaks as needed to avoid fatigue.