Are you tired of buying expensive cat toys that your feline friend loses interest in after just a few minutes? Do you want to challenge and engage your kitty without breaking the bank? Look no further than creating your own DIY cat projects. Not only can making your own cat toys, accessories, and furniture be budget-friendly, but it also allows you to choose safe materials that are free from toxic chemicals often found in store-bought products.
In this article, we’ll show you how easy it is to get creative with simple yet fun DIY projects that cater to your cat’s unique personality. From scratching posts to interactive toys and cozy beds, we’ll cover a range of easy-to-make ideas using everyday materials you likely have at home or can easily source. By the end of this article, you’ll be equipped with the knowledge and inspiration to create a more stimulating environment for your feline friend, all while keeping costs low and fun high!
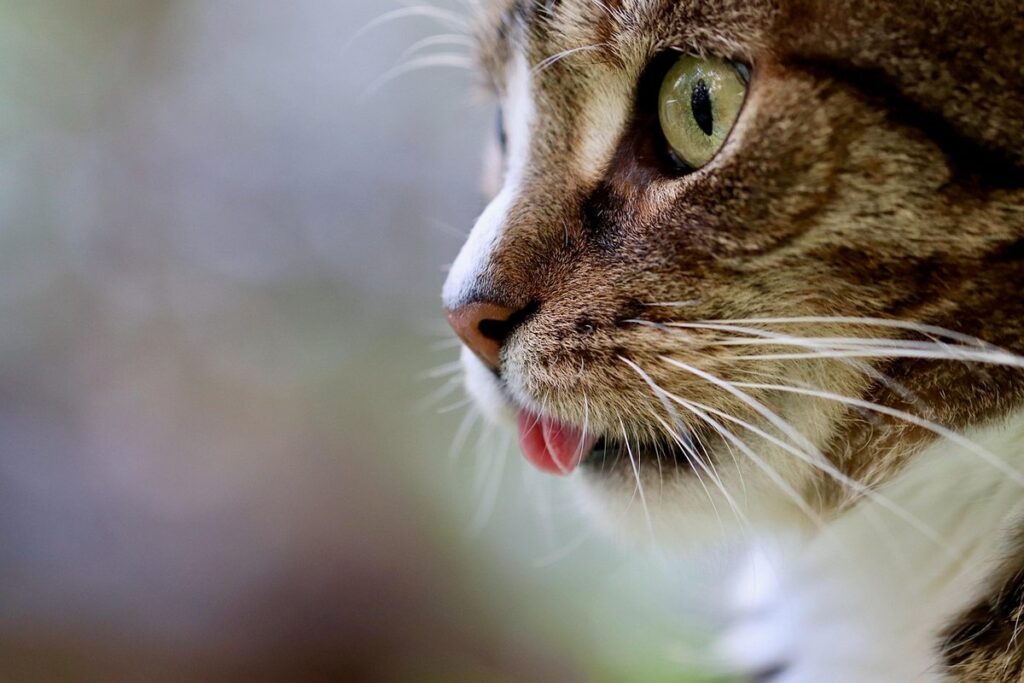
Introduction to Cat DIYs
Welcome to our feline-friendly space where we’ll show you how to craft unique cat DIY projects that your kitty will love and appreciate. From scratching posts to cozy beds, we’ve got you covered!
Benefits of Making Your Own Cat Toys and Accessories
Making your own cat toys and accessories can bring numerous benefits to both you and your feline companion. One of the most significant advantages is cost savings. Store-bought cat toys and accessories can be pricey, especially if you have a large or multiple cats. By creating your own, you can save money while still providing your cat with the stimulation and entertainment they need.
Another benefit is customization. When you make your own cat toys and accessories, you can tailor them to your cat’s individual preferences and needs. For example, if your cat loves to chase strings, you can create a simple string toy using yarn or twine. If your cat prefers plush toys, you can sew a soft, cuddly companion using fabric scraps.
Making your own cat toys and accessories also allows you to use eco-friendly materials and avoid harsh chemicals often found in commercial products. Plus, the quality time spent creating something for your cat can strengthen your bond and create lasting memories. With a little creativity, you can provide your cat with a variety of fun and engaging activities while saving money, reducing waste, and promoting a healthier relationship between you and your feline friend.
Choosing the Right Materials
When it comes to DIY projects for cats, selecting the right materials is crucial. Not only do you want to ensure that the materials are safe and non-toxic for your feline friend, but also durable enough to withstand their natural curiosity and playful behavior.
Start by choosing materials that are sturdy and easy to clean. For example, a scratching post made from sisal rope or carpeted with a durable fabric will provide a great outlet for your cat’s scratching instinct. Avoid using flimsy materials like cardboard or fabric scraps that may tear easily.
Consider your cat’s preferences when it comes to texture and smell. Some cats love the feel of rough wood, while others enjoy the softness of plush toys. You can also add catnip or treats to make the DIY project more appealing.
Additionally, opt for materials that are easy to disinfect and maintain. For instance, a litter box made from stainless steel or ceramic is a better choice than one made from plastic. By selecting safe, durable, and appealing materials, you’ll create a DIY project that your cat will love and enjoy using.
Basic Cat Toy DIYs
Create fun and engaging toys for your feline friends without breaking the bank by making these simple, yet effective DIY cat toys at home. We’ve got some paw-some ideas to get you started!
Cardboard Box Creations
If you’re looking for creative ways to reuse and recycle cardboard boxes for your feline friend, look no further than Cardboard Box Creations! Cats have an innate love for cardboard, and with a little imagination, you can turn these humble materials into engaging toys that will keep them entertained for hours.
One of the simplest ideas is to cut holes of varying sizes in different sections of the box. This will create a maze-like structure that challenges your cat to navigate through, providing mental stimulation and exercise. You can also add some treats or kibble inside the box to make it even more enticing. Another idea is to create tunnels by cutting out long strips from the box’s flaps, allowing your cat to crawl through them.
For a more challenging activity, try cutting out specific shapes or objects (e.g., a cat’s face or a bird) and placing them on top of the box. Encourage your cat to pounce on these targets for a fun game of “whack-a-mole.” You can also decorate the boxes with some catnip or treats to make them even more appealing. With a little creativity, you’ll have a stash of interactive toys that are both eco-friendly and budget-friendly!
Yarn and Ribbon Teasers
When it comes to keeping your feline friend entertained and stimulated, simple DIY toys can be just as effective as store-bought ones. Yarn and ribbon teasers are a great example of this – they’re easy to make, cost next to nothing, and can provide hours of fun for your cat.
To create a yarn teaser, start by cutting a length of yarn (around 3-4 feet long is a good starting point). Tie one end to a small object like a pen or a pencil, leaving the other end free. This will allow you to wave the yarn around and entice your cat to swat at it. You can also try using different types of yarn, such as cotton rope or twine, for added texture and interest.
Ribbon teasers work in a similar way – simply cut a length of ribbon (around 2-3 feet long is ideal) and tie one end to the same type of object. Wave the ribbon back and forth, watching your cat pounce and swat at it as it moves. Remember to keep an eye on your cat’s behavior and adjust the speed and movement of the teaser accordingly – you want to keep them engaged and active!
Bell Toys and Mice Makers
Making bell toys and mice makers is a fun and easy DIY project that can keep your cat engaged for hours. To make a bell toy, you’ll need some basic materials like an empty plastic bottle, scissors, and a few bells. Simply cut holes in the bottle at regular intervals and hang the bells inside. You can also add some feathers or other attachments to make it more interesting.
For mice makers, you can use a small piece of cloth or felt, some stuffing material, and a needle. Sew the edges together, leaving a small opening, and fill with the stuffing material. Then, close the opening by hand-sewing it shut. You can also add some bells or other attachments to make it more appealing to your cat.
To keep your cat engaged, you can try different variations of bell toys and mice makers. For example, you can use a variety of materials like cardboard boxes, paper bags, or even old socks. Get creative and have fun with it! Remember, the goal is to provide stimulation and entertainment for your cat, so feel free to experiment and come up with unique designs that work best for your feline friend.
Advanced Cat Toy DIYs
Take your cat toy-making skills to the next level with these creative and challenging projects, perfect for experienced crafty cat lovers. Get ready to unleash your creativity and impress your feline friends!
Interactive Treat Dispensers
Interactive treat dispensers are a fantastic way to challenge your cat’s problem-solving skills and keep them engaged for hours on end. These DIY devices encourage cats to figure out how to get their treats by manipulating various parts, providing mental stimulation and preventing boredom.
To create an interactive treat dispenser, you’ll need some basic materials like cardboard boxes, plastic bottles, or PVC pipes, along with some creativity. Here are a few ideas to get you started:
* Cut holes of varying sizes in a cardboard box to create a puzzle that your cat must figure out to access the treats.
* Fill a plastic bottle with treats and attach it to a wooden base using glue or screws, creating a dispenser that requires cats to roll or move the bottle to release the treats.
* Use PVC pipes to create a maze for your cat to navigate through to get their treats.
Remember to adjust the difficulty level of the puzzle according to your cat’s age and skill level. You can also customize these ideas using different materials or shapes to keep things interesting and challenging for your feline friend. With a little imagination, you can create a variety of interactive treat dispensers that will provide hours of entertainment for your cat.
Sensory Toys with Catnip and Fabric
When it comes to creating sensory toys for cats, incorporating catnip and fabric is a great way to provide an immersive experience. Catnip is a natural herb that contains nepetalactone, which stimulates a cat’s senses and encourages playful behavior.
To make a catnip-infused toy, you can fill a small pouch or sachet with dried catnip leaves or stems. You can also add other materials like fabric, felt, or yarn to create a more textured experience for your cat. For example, try sewing a small pocket on the toy and filling it with a mixture of catnip and crinkle material.
Some great fabrics to use in sensory toys include velvet, corduroy, and minky. These textures provide a unique sensation for cats to explore with their paws and whiskers. You can also add other materials like pom-poms or tassels to create a more dynamic experience.
When creating these toys, be sure to use high-quality catnip that is fresh and potent. This will ensure that your cat gets the most out of the toy and enjoys its sensory experience.
Automated Toy Feeders
Creating automated toy feeders is an excellent way to keep your cat engaged and stimulated while you’re away. These innovative feeders dispense treats or kibble at set intervals, challenging your feline friend’s problem-solving skills and providing mental exercise.
To make an automated toy feeder, you’ll need a few basic materials: a plastic bottle, a small motor or gear system, a feeding tray, and some kibble or treats. You can repurpose an old plastic bottle as the main container, cutting holes of varying sizes to create different challenges for your cat. Next, attach a small motor or gear system to dispense the food at set intervals.
You can program the feeder using a simple timer or smartphone app, setting specific feeding times and intervals. For example, you could schedule three meals per day with 30 minutes between each feeding. This will encourage your cat to think critically and work for their rewards. Some DIY enthusiasts have even incorporated sensors to monitor food levels and adjust dispensing accordingly.
By creating an automated toy feeder, you’ll be providing your cat with a fun and engaging way to dine, making mealtime more exciting and interactive.
DIY Cat Bedding and Furniture
Create cozy cat havens on a budget with our easy-to-follow tutorials for making cat bedding and furniture that your feline friends will adore. From simple hammocks to plush houses, we’ve got you covered!
Upcycled Cat Beds from Old Items
Transforming old items into cozy cat beds is not only eco-friendly but also budget-friendly. Before we dive into creative upcycling ideas, remember to clean and disinfect the materials thoroughly before using them as cat beds.
For instance, consider turning an old sweater or blanket into a plush cat bed. Simply cut out a suitable shape from the fabric, add some stuffing if needed, and voila! You’ve created a snug haven for your feline friend. Alternatively, you can repurpose cardboard boxes by cutting holes for entry and exit points and adding soft cushions.
Another idea is to upcycle an old t-shirt or pair of jeans into a hammock-style cat bed. Simply stretch the fabric over a wire hanger or a wooden dowel, securing it with some rope or twine, and hang it in a cozy spot. Your cat will appreciate the gentle swaying motion while lounging.
When choosing materials for upcycled cat beds, prioritize durability and comfort. Opt for soft fabrics like fleece or velvet, and avoid using any toxic materials that might harm your cat’s health. With a little creativity, you can breathe new life into old items and create unique, cozy spaces for your feline companions to snooze and play.
Building a Custom Cat Tree
Building a sturdy and comfortable cat tree using natural materials like wood is a fun and rewarding DIY project that your feline friend will surely appreciate. Before you start gathering materials, consider the size and design of the cat tree you want to build. Think about the space where it will be placed and how many cats will be using it.
To begin, gather some basic tools such as a saw, drill, and sandpaper. For the frame, choose durable woods like oak or pine that can support your cat’s weight. Use 2x4s for the legs and a sturdy beam for the top support.
When it comes to adding comfort features, consider using plush cushions or carpet remnants attached to wooden slats or shelves. You can also add some vertical space by installing cat shelves or ledges made from wood planks. For added stability, secure the entire structure with screws and nails.
With these basic steps, you can create a sturdy and cozy cat tree that your feline friends will love. Don’t forget to have fun and get creative with the design – after all, it’s a DIY project!
Creating a Hidden Haven with Cardboard Boxes
Transforming cardboard boxes into cozy hideaways for our feline friends is a simple yet ingenious way to provide them with their own secret sanctuary. Cats are notorious for their love of enclosed spaces, and what’s more inviting than a sturdy cardboard box? To create a hidden haven that your cat will adore, start by gathering a few large boxes of different shapes and sizes.
Next, cut out any sharp edges or corners using a utility knife or scissors to prevent injury. You can also add some ventilation holes to ensure airflow within the box. Now it’s time for decorating! Cats love texture and patterns, so consider adding some old towels, blankets, or even a piece of fleece to create a cozy nesting area.
Place the box in a quiet corner of your home where your cat can retreat from the hustle and bustle. You might be surprised at how quickly they claim their new hideaway as their own. To take it up a notch, you could even add some treats or toys inside to entice them into their new sanctuary. With a little creativity, that cardboard box is transformed into the purrfect haven for your feline friend.
Safety Considerations and Tips
When creating a cat DIY project, it’s essential to keep your feline friend safe from potential hazards, such as sharp edges and electrical cords. Always prioritize their well-being in every step of the process.
Choosing Safe Materials and Avoiding Choking Hazards
When it comes to making cat toys and accessories, choosing safe materials is crucial to ensure your feline friend’s well-being. Cats are notorious for their curiosity and love of exploring with their mouths, which makes choking hazards a significant concern.
Opt for non-toxic materials like cotton, fleece, or felt instead of synthetic fibers that can cause irritation or allergic reactions. Avoid using small parts, beads, or other loose items that can be easily detached and swallowed. Instead, use larger, more substantial materials like wooden dowels or cardboard tubes to create interactive toys.
Some common household items can also pose a choking hazard when repurposed as cat toys. For example, avoid using small buttons, coins, or jewelry pieces that can easily come loose and be ingested. When in doubt, always err on the side of caution and choose materials that are safe for cats to mouthe and chew on.
Additionally, consider your cat’s age and size when selecting materials. Kittens and senior cats require more delicate and gentle materials than adult cats, who may be able to withstand more robust toys. By being mindful of these factors, you can create fun and engaging toys while keeping your cat safe from harm.
Supervising Your Cat with New DIYs
When introducing new DIY toys or accessories to your home, it’s essential to remember that cats can be unpredictable and curious creatures. As soon as you bring a new item into the room, your cat will likely become fascinated by it, and they may try to investigate or even play with it right away.
To ensure your cat’s safety, it’s crucial to supervise them closely when introducing new DIYs. Even if you’ve carefully crafted a toy or accessory that seems safe, there’s always a chance that your cat might find a way to damage it or get injured in the process.
This is especially true for items with small parts or loose materials that can be easily detached and swallowed. A simple cord or string can become a strangulation hazard if ingested, so keep an eye on your cat at all times when they’re interacting with new DIYs. Be prepared to intervene if you notice any signs of distress or over-excitement in your feline friend.
By keeping a watchful eye and being mindful of potential hazards, you can enjoy creating fun and engaging DIY toys for your cat while ensuring their safety above all else.
Common Mistakes to Avoid When Making Cat DIYs
When creating your own cat DIY projects, it’s easy to make mistakes that can harm your feline friend, so let’s take a look at some common errors to steer clear of.
Selecting Materials That Are Not Suitable for Cats
When making DIY projects for your feline friends, it’s essential to avoid common mistakes that can harm their health and safety. One critical aspect of this is selecting materials that are not suitable for cats.
Some people may not realize the dangers posed by certain materials, such as toxic substances or small parts that can be easily ingested. For instance, using paint with high levels of lead or cadmium can lead to serious health issues in cats, including kidney damage and even death. Similarly, small parts like buttons, zippers, or beads can be a choking hazard if your cat decides to play with them.
To avoid these mistakes, always read the labels on materials carefully and look for certifications like AP (Art and Creative Materials Institute) or CPSIA, which ensure that products meet safety standards. If you’re unsure about any material, it’s best to err on the side of caution and choose a safer alternative. For example, you can use cat-safe paints or opt for natural fibers instead of synthetic ones.
Remember, your cat’s safety is paramount when making DIY projects. Be mindful of their potential exposure to hazardous materials and take steps to prevent accidents.
Over-Complicating the Design
When making cat DIYs, it’s easy to get carried away with intricate designs and features that may seem impressive at first glance. However, over-complicating the design can have a negative impact on your cat’s experience. Cats are simple creatures that value functionality above all else, so if a toy or accessory is too difficult to use, they’ll likely lose interest quickly.
Consider this: you create an elaborate puzzle feeder that requires your cat to figure out how to access their food through a series of sliding panels and hidden compartments. Sounds like fun, right? But in reality, your cat may become frustrated and give up after a few attempts, rather than enjoying the challenge and reward. This is because cats prefer straightforward and intuitive designs that allow them to focus on play rather than problem-solving.
To avoid over-complicating the design of your cat DIYs, keep it simple and let your creativity shine through in other ways, such as using different textures, colors, or shapes. Remember, the goal is to provide entertainment and stimulation for your cat, not to showcase your crafting skills.
Frequently Asked Questions
Can I use recycled materials for my cat DIY projects, or are they not safe?
Yes, you can use recycled materials, but make sure to inspect them carefully for any damage or potential hazards like sharp edges or small parts that could be a choking hazard. Clean and sanitize the materials before using them in your DIY project.
How do I ensure my cat’s safety when introducing new DIY toys and accessories?
Always supervise your cat during the introduction of new DIY projects, especially if they involve moving parts or potentially loose materials. Start with short play sessions and observe your cat’s behavior to adjust accordingly.
What if I’m not crafty or don’t have experience making DIY projects – can I still create cat-friendly items?
Absolutely! You don’t need extensive crafting skills to make DIY cat toys and accessories. Begin with simple ideas like cardboard box creations, yarn and ribbon teasers, or upcycled cat beds from old items.
How long do DIY cat toys typically last before they need replacement?
The lifespan of your DIY cat toys depends on several factors, including the materials used, frequency of use, and individual cat preferences. Regularly inspect and maintain your DIY creations to ensure they remain safe and engaging for your feline friend.
Can I customize my DIY projects to cater to specific cat needs or abilities?
Yes, many DIY cat projects can be customized to accommodate cats with special needs or physical limitations. For example, you could create a sensory toy specifically designed for cats with sensory sensitivities or make a scratching post tailored to a cat’s preferred height and texture preferences.